Truong Tuyen Horizontal Stainless Steel Water Tank

Truong Tuyen Horizontal Stainless Steel Water Tank
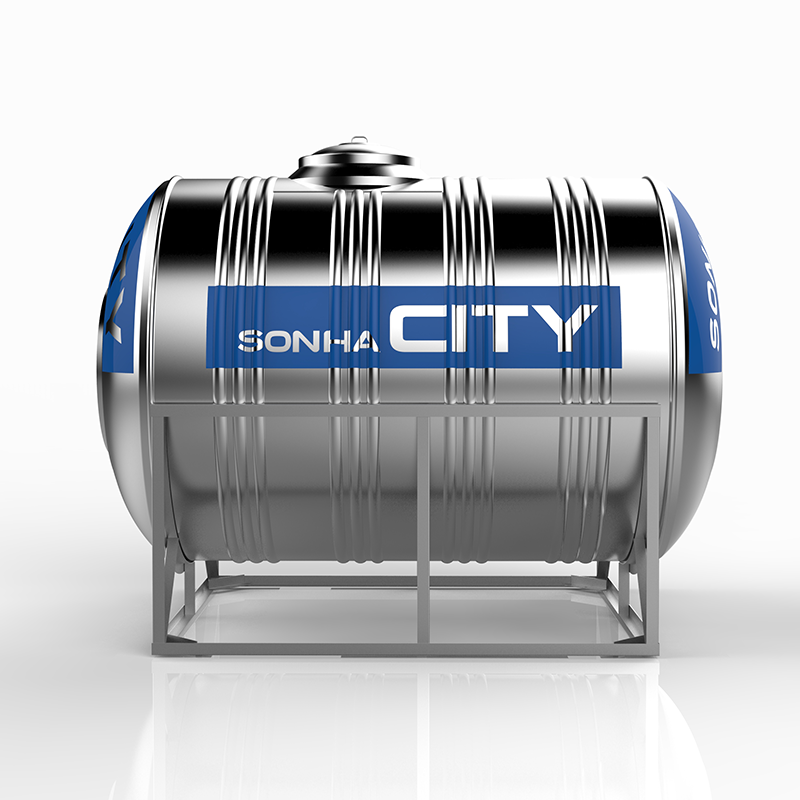
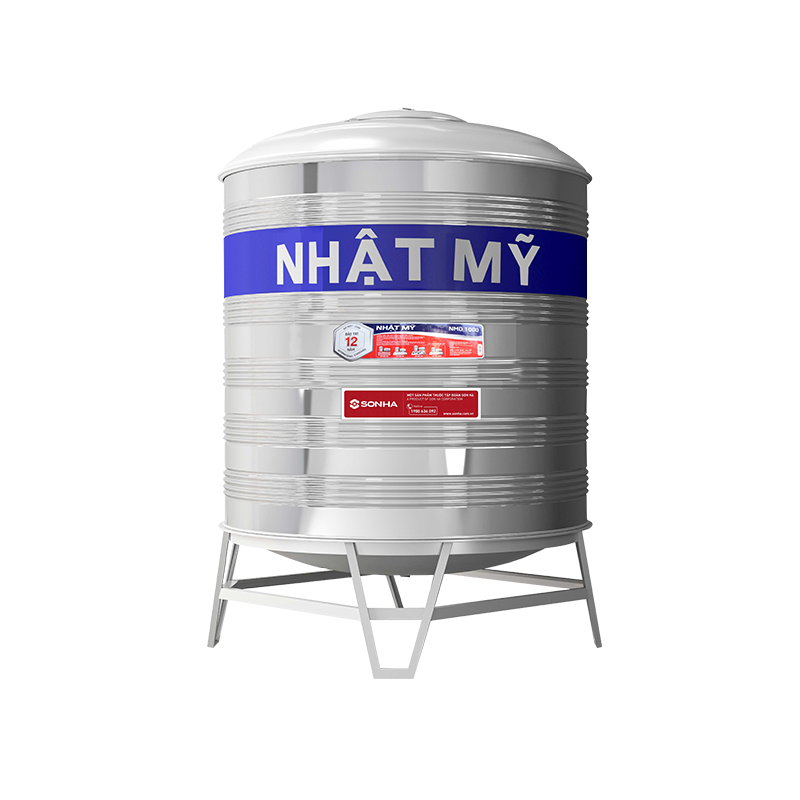
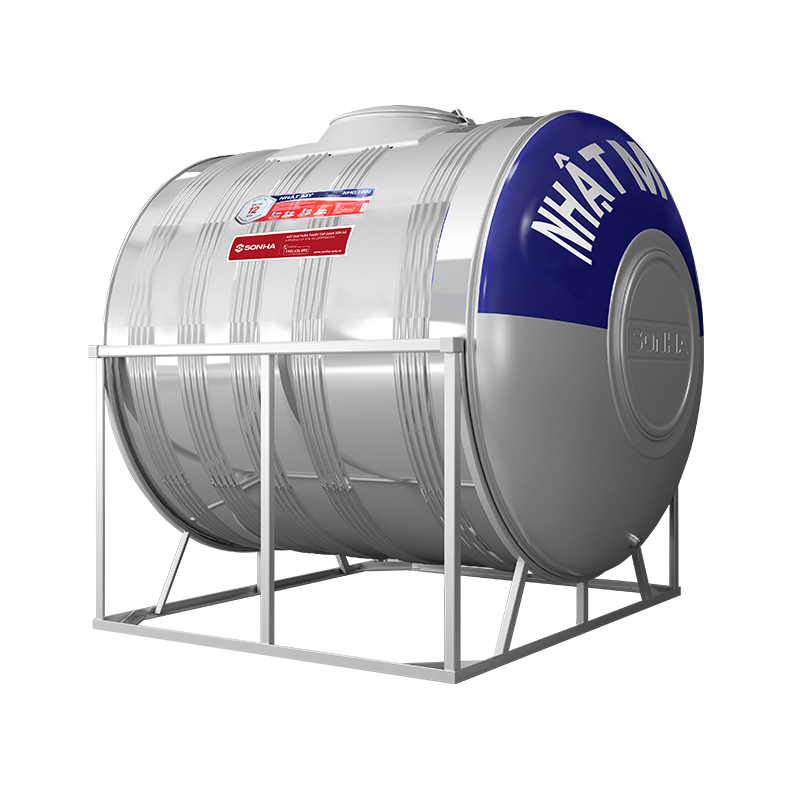
- Truong Tuyen Horizontal Stainless Steel Water Tank is manufactured with hi-class inox SUS304 which has high hardness, high reliability, used to store water safely.
- The product is manufactured in a modern technological Japanese line with the quality management system meeting the international standard of ISO 9001-2008.
- The product is various, has many types, and suits to any house architecture.
Please contact Hotline: 1800 6566 for the most detailed advice.
Service Center:
+ North: (+84) 4 62 65 65 86
+ South: (+84) 8 22 15 32 19
Hotline Consulting / Survey / Project Sales: 09751.555.89 (Tanks, Septic Tank …)
| Steps | Content | Tools to be prepared | Detailed instruction |
|---|---|---|---|
| Step 1 | Installation conditions: Location, flat surface |
During installation: installation surface must be guaranteed that
|
|
| Step 2 | Photos of accompanying tools and installation tools | Power float valve, Electronic pliers, speculum pliers, water pliers, socket, wrench, adhesive tape, screwdrivers, screws, glue (heat-sealing machine). | Prepare enough spare parts, tools for installation in the most convenient place such as wrench, screwdrivers connect screws tightly with the stand bars, Electronic pliers, speculum pliers, water pliers. |
| Step 3 | How to identify the product, product stamp: logo, warranty stamp | Truong Tuyen water tank has a new logo Truong Tuyen which is more elegant, new warranty stamp is also printed directly on the product surface by electrolytic corrosion technology. | |
| Step 4 | Check if discharge valve is tightened: Tighten suitably | Speculum pliers, water pliers | Check and tighten the discharge valve. Use speculum pliers and water pliers to rotate the thread counterclockwise. |
| Step 5 | Place the base into the specified location: tilt the legs freely, 2 feet in contact with flat surface |
Tilt the legs freely, 2 feet in contact with flat surface | |
| Step 6 | Connect the tank with the stand base: Place the bottom of the tank on top of the stand vertically. | Connect the tank with the stand base: Place the bottom of the tank on top of the stand vertically. Do it gently to avoid collisions, leading to distortion and scratches of the body. | |
| Step 7 | Fit the tank with the boundary of the base: 1 hand holds tank with another hand holding the single rib, press gently so that the rib fits with the stand base | Fit the tank with the boundary of the base: 1 hand holds tank with another hand holding the single rib, press gently so that the rib fits with the stand base | |
| Step 8 | Hinge the positioning screws | Screws, hinge, wrench | Then screw firmly the hinged screws to fix the tank with the base in order to avoid wind, natural disaster, which may knock down the tank. |
| Step 9 | Drill screw holes fixed with the floor: Place the foot into marks for the screw holes, drill stand-by holes as marked | Drill, screws, wrench | Mark the location to place the feet, use the concrete drill to drill a hole in order to fix the feet with the floor, avoid risks. |
| Step 10 |
Complete installation | And now we have completed installation of an inox water tank on a fixed surface. |