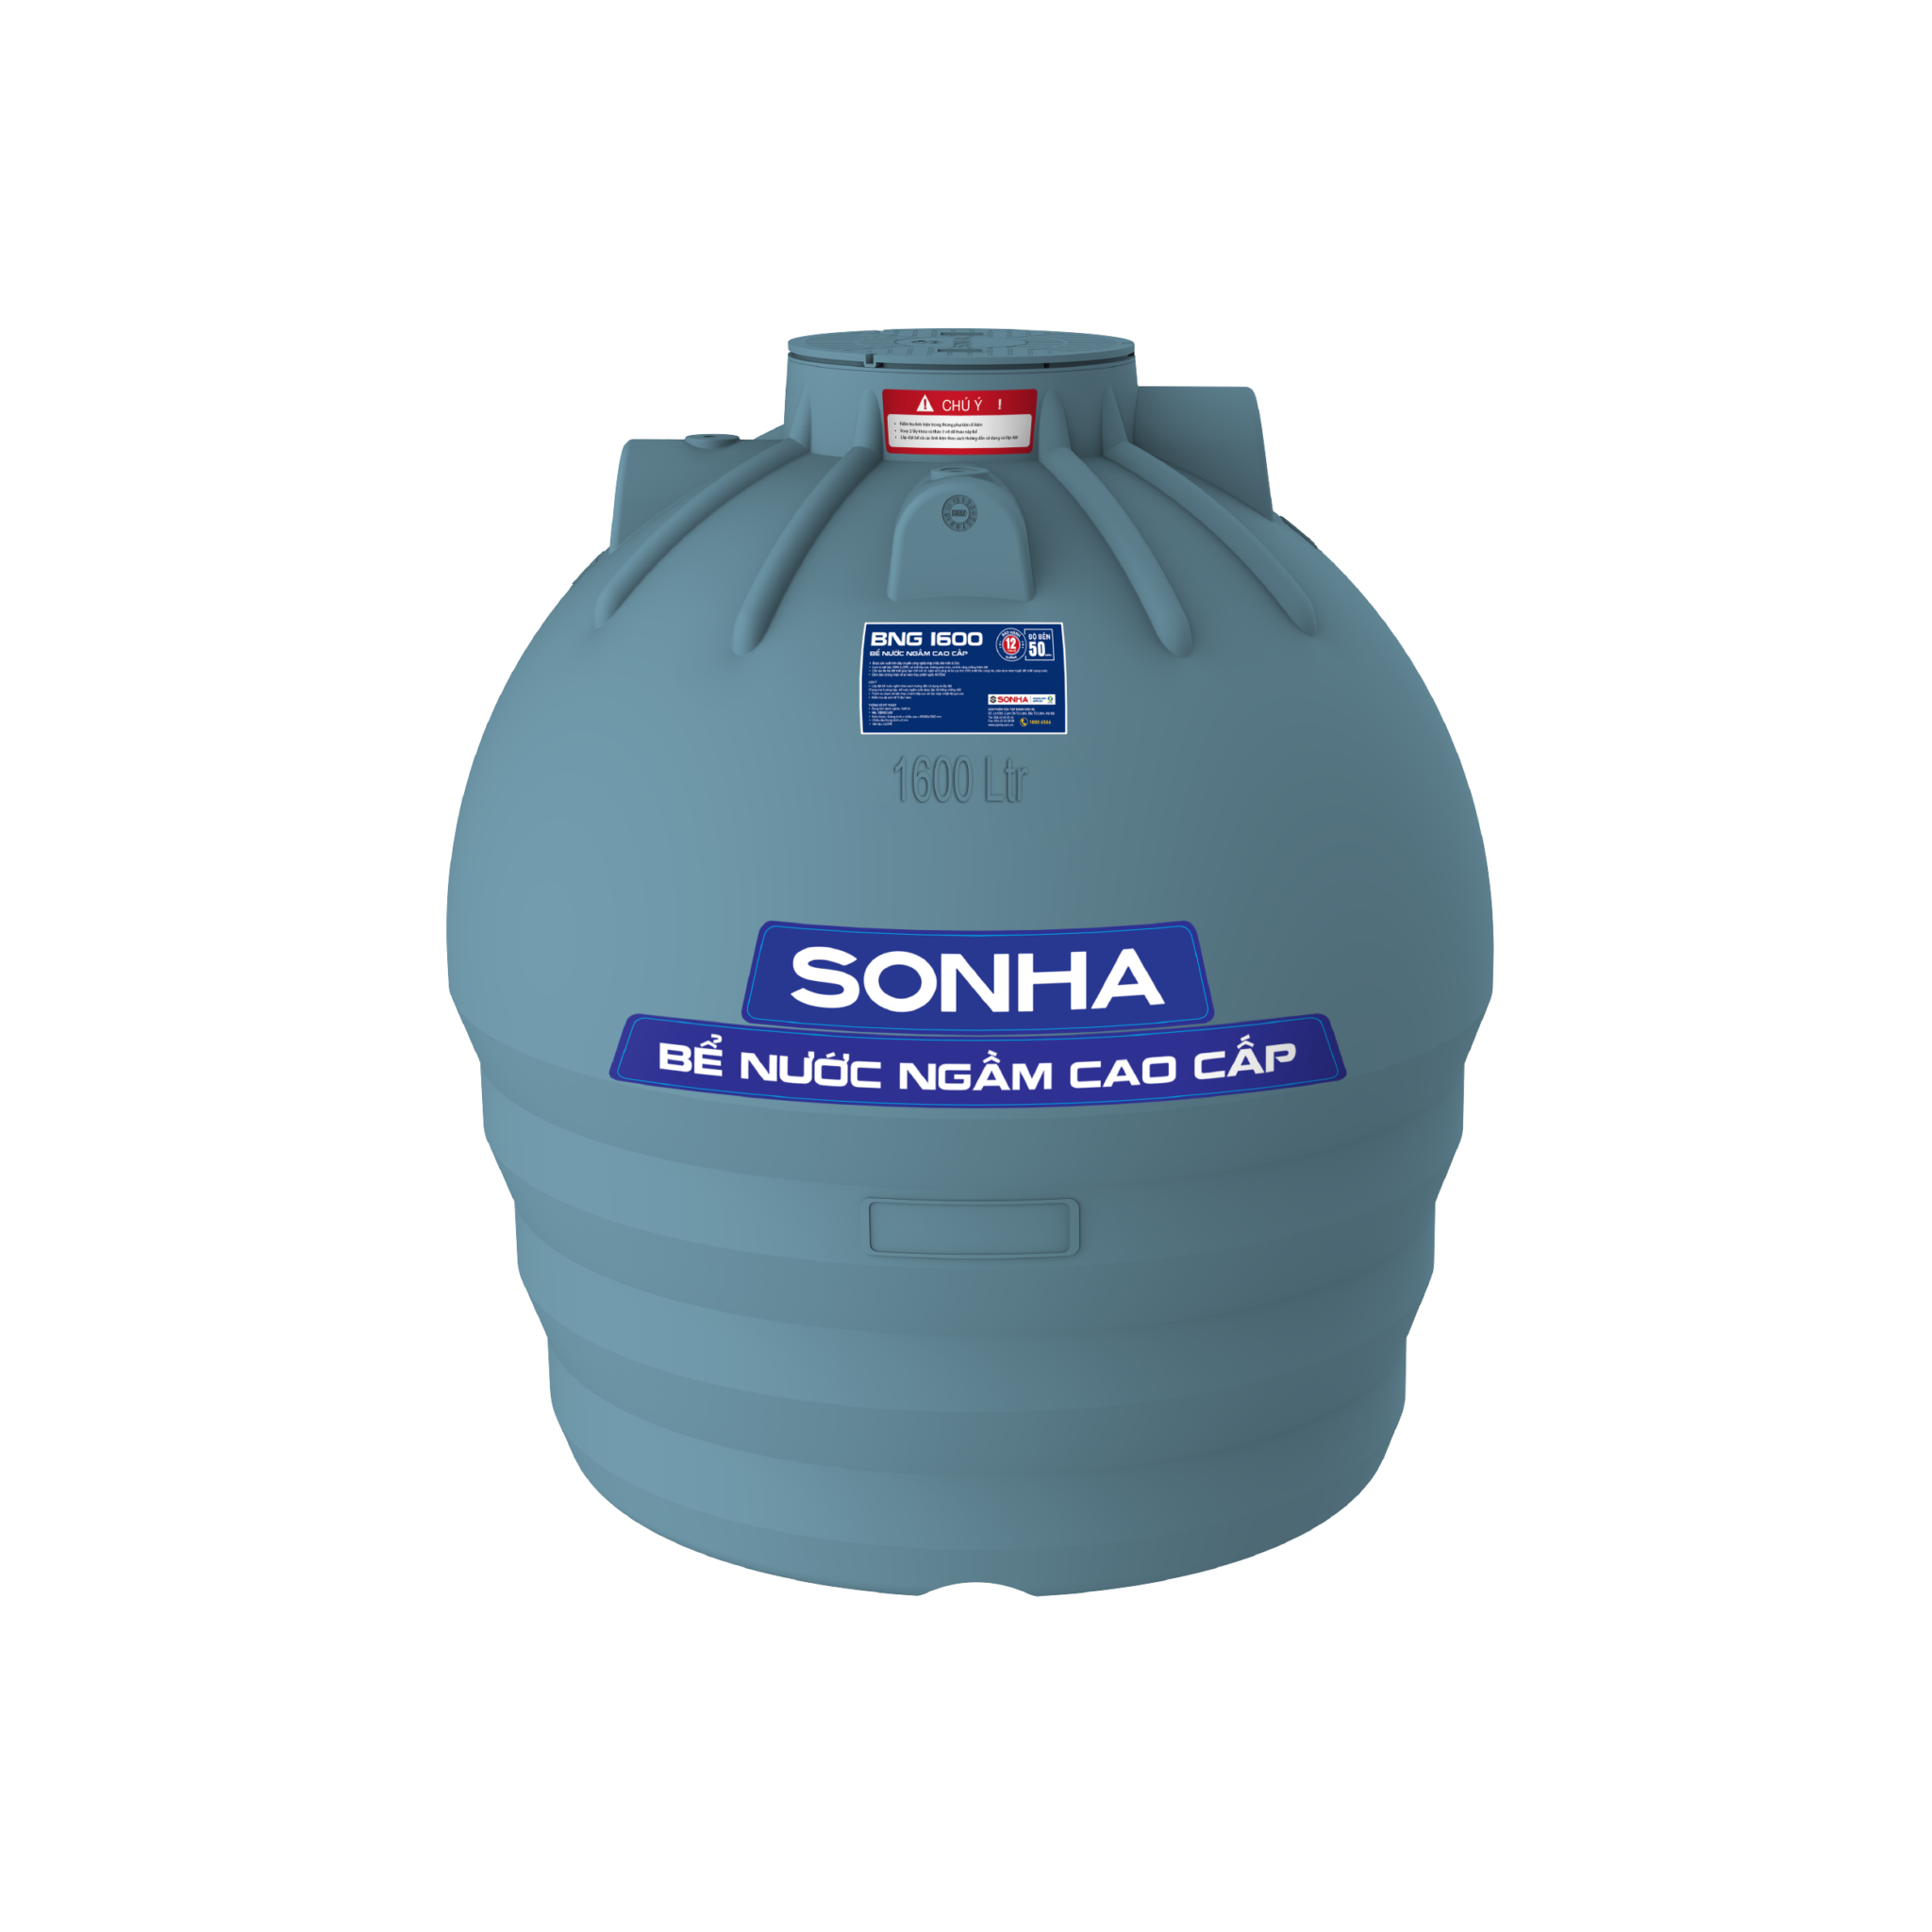
SON HA HIGH-CLASS UNDERGROUND WATER TANK 2000L

SON HA HIGH-CLASS UNDERGROUND WATER TANK 2000L
Giá sản phẩm : 11664000
Son Ha high-class underground water tank is based on the research and survey of many popular water tank models in the world. The product is the perfect solution in storing domestic water, ensuring health safety and thoroughly resolving the pollution of traditional water tanks.
Please contact us for more information !
Step 1: Survey the installation location
– Groundwater tank needs to be placed lower than clean water supply pipelines so that water can flow into the tank itself
Step 2: Dig holes to install tank
– Digging hole with a diameter of at least 300mm bigger than the diameter of the tank body
– Minimum pole height = height of waterway position + concrete bottom layer thickness
– Clean the pit

Step 3: Pour concrete on the pit bottom and construct waiting hook for anti-floating
The bottom is poured with concrete and a waiting hook is prepared, the steps are as follows:
– Compacting and flattening the foundation
– Laying waterproof plastic layer
– Knitting 1 layer of D10 @ 200iron
– Installing the waiting hook (Use steel wire, do not use welds)
– Pouring stone concrete 1×2 M250 with a minimum thickness of 150mm
– Create even flatness for concrete surface (using Nivo)
– Watering for maintenance and waiting for concrete to reach the required hardness
Attention:
For tanks with a volume of more than 2000 liters or installed in the place with soft soil foundation, the bottom must be reinforced against subsidence by pressing piles
The bottom surface is flattened and balanced.

Step 4: Put the tank into the installation location and assemble the components
– Put the tank on a dry concrete foundation and align the position of the tank installation evenly
– Assembling components:
Step 4.1: Install the float at the position of the inlet waterway into the “IN sign floating on the tank body”
(In case the water flows from the clean water supply system into the tank)
Step 4.2: Install stainless steel threaded clamp into the water outlet position
“OUT sign floating on the tank body”
Step 4.3; Thermal welding the inner and outer threaded coupling with the PPR pipe
Step 4.4: Install the pump into the external threaded coupling of the cluster completed in step 4.3
Step 4.5: Install the details completed in step 4.4 into the threaded clamp installed in step 4.1
Rotate the tank in the proper position (suitable for wire position, water inlet position …)

Step 5: Install anti-floating parts
– Insert the cable into the anchor as shown in the picture
– Adjust the tension evenly with the rigging screw

Step 6: Install inlet and outlet pipes, ventilation pipes, and tank cover
– Install the water pipe into the position of the float installed on the tank body in step 5
– Install the water inlet into the threaded clamp position installed on the tank body in step 5
– Vent pipe: Use an external threaded end of 1 inch (27mm or 34 mm pipe) and the corresponding pipe to fit into the threaded hole available on the tank.
– Install tank cover with stainless steel screw

Step 7: Insert sand around the tank position
– Before inserting sand, fill the tank with water
– Insert sand into the gap and gently compact, ensure to insert fully the space between the tank and pit
Note: Do not insert soil, gravel, concrete, garbage, wood or hard pointed materials around the tank.
Step 8: Complete concrete cover to cover fully the tank (as shown in the picture)
– When finish the installation, pour the concrete around the tank (knitting iron mesh)
– Pour concrete slabs onto the tank cover and seal with candle glue